Liquidation
 0% interest for 6 months
 Профилактика
 DJI Spare Parts
 Extended warranty Drones.bg
 Sell your old drone and get cash now!


Have you ever been in the following situation: finding red or blue zones in the app? DJI (e.g. DJI GO 4/DJI Fly) during flight? If you want to fly your drone in these areas, you need to unlock them first. This guide not only provides an introduction to DJI’s GEO system and restricted areas, but also the method to unlock a restricted area. So, let’s get started!
The first question is what is the GEO system of DJI?
DJI’s Geospatial Environment Online (GEO) system is a geospatial information system that provides DJI users with up-to-date guidance on areas where flights are restricted for safety or regulatory reasons. It combines the latest airspace information, a flight warning and restriction system, a self-authorization unlock mechanism for specific locations, and a minimally invasive system for reporting on these decisions. This system is often referred to as „geofencing.“.
The most restrictive are of course the zones that are shown in red in the app. A warning will appear and the flight will be prevented. (We have another article presenting the authorization zones, or let's say, the blue zones, click here, to read the details.)
But what happens if a rescue mission needs to be carried out in a red zone? Please follow the three steps below to unlock it:
Step 1: Prepare the basic information.
- Personal information: Your name, email address, and phone number
- Flight controller serial number (Launch the DJI app and go to About to find „Flight Controller SN“.)
- Latitude and longitude of the respective region
- Radius and height of the area, subject to the permit document approved by the local government (Note: Some drones are not allowed to unlock flight above 500 m.)
- Duration of unlock licenses: 1 year for private users and unauthenticated users from organizations (including government units); 3 years for authenticated users from organizations
- Authorization document,which allows flight in red restricted areas (Please contact local government to be approved.)
After preparing the materials, tap this one link and enter the information to complete the first step. The process is shown here: Authentication Application.
Step 2: Go to the official DJI website to apply for an unlock license.
After you fill out the information in the authentication request, you can proceed to the next step to unlock a license application: Go to fly-safe.dji.com ,To submit an unlock request, check here: Unlock an app for details on the process. You will then receive an email response with the outcome of your unlock request within an hour.
Step 3: Import the unlock license into your drone.
Once you get a positive result, welcome to the final step: Import the license into your drone via the DJI app and please see below for instructions for the different DJI apps: (Please make sure your device has an internet connection before proceeding to this step.)
For DJI Fly, please click here.
Note: For FPV drones, please first connect the glasses to your mobile device via cable and then click here.
For DJI GO 4, please click here.
For DJI GO, please click here for iOS; and here for Android.
For DJI Pilot, please click here. For DJI Pilot 2, please click here.
For GS RTK, please click here.
For DJI Agras, please click here.
For DJI MG, please click here.
If you need further assistance, please email contact@drones.bg at any time.
We hope this article was helpful. If you have any questions or would like to share any ideas for future articles, please feel free to leave a comment below!

Drones.BG - Drone Shop - Fly with us! - 0876 99 61 67
drone shop, drone service, drone, drones, racing drone, drones bg, racing drone, racing drones, drone parts, drone repair, drone camera, quadcopter, quadcopters, drone with camera, dji drone, dji drone, Dji, Autel drone, Hubsan drone, Xiaomi drone, 3DR Robotics drone, BetaFPV drone, iFlight drone, Yuneec drone, Syma drone, Eachine drone, JJRC drone, Visuo drone, Parrot drone, professional drone, cheap drone, professional drones, kids drone, kids drones, new drones, drone sale, online drone shop, looking for drone, selling drone, drone price, drone services, drone service, drone price drone services filming photo video view objects roofs








 Discounts
 0% interest for 6 months
 Vouchers

 All DJI Drones
 DJI Lito
 DJI Mini 5 Pro
 DJI Neo 2
 DJI Neo
 DJI Avatar 360
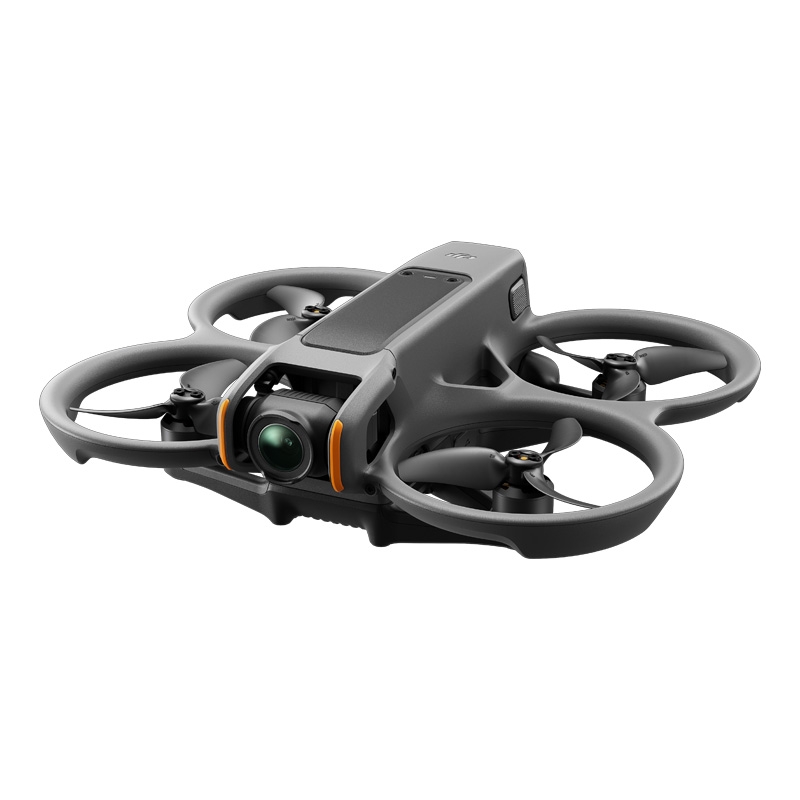 DJI Avatar 2
 DJI Mavic 3 Pro
 DJI Air 2S
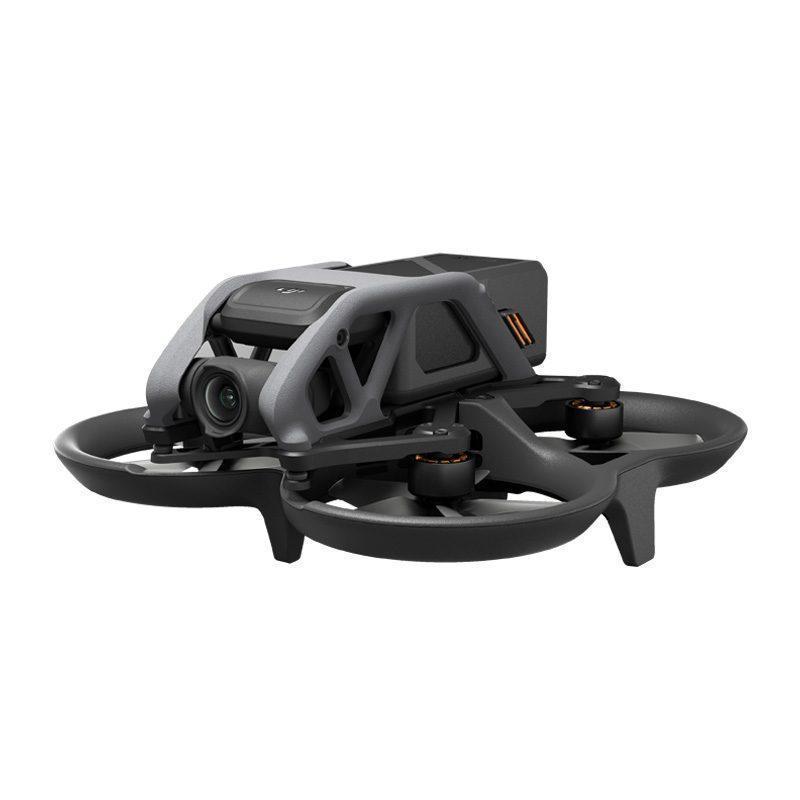 DJI Avatar
 DJI FPV
 DJI Mini 3 Pro
 DJI Care Refresh Plans
 DJI Matrix 4
 DJI Matrice 400
 DJI Dock
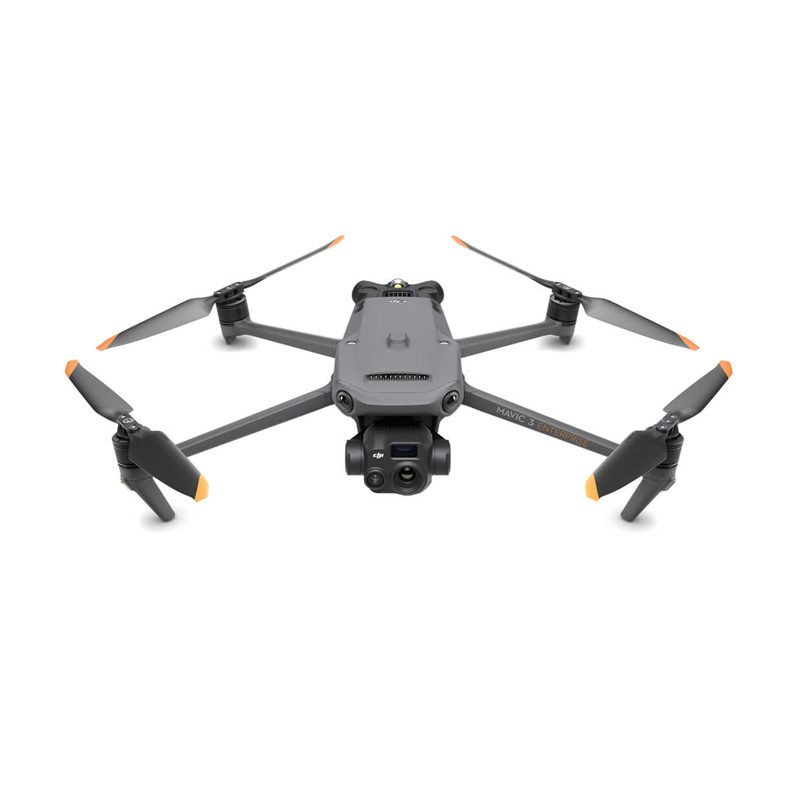 DJI Mavic 3 Enterprise
 DJI FLYCART 30
 DJI FlyCart 100 CARGO TRANSPORT DRONE
 Software for industrial drones
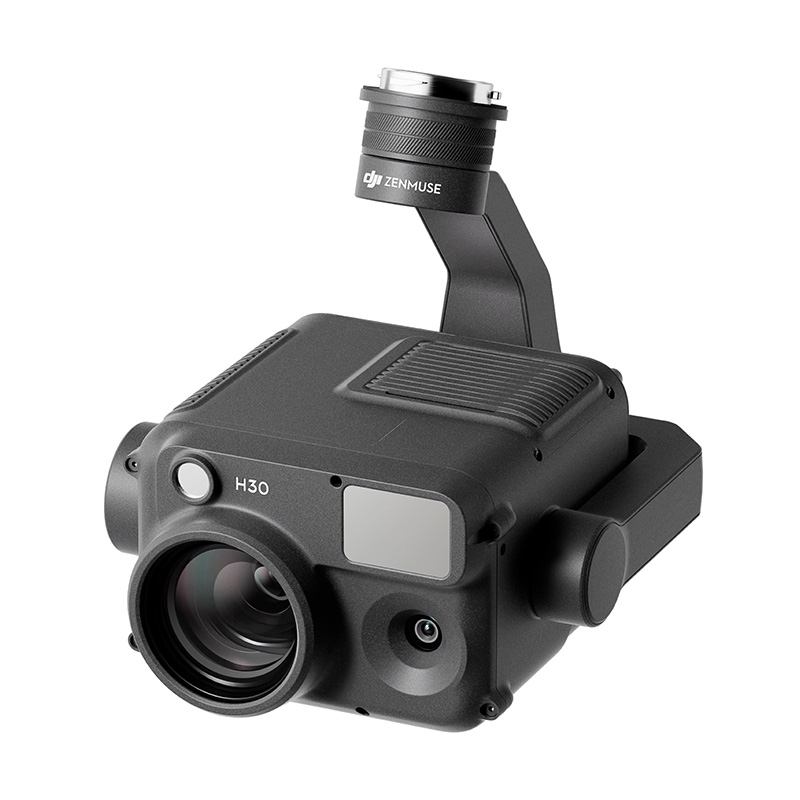 Professional cameras
 Antigravity A1
 Kids drones
 Kids drones
 Drone batteries
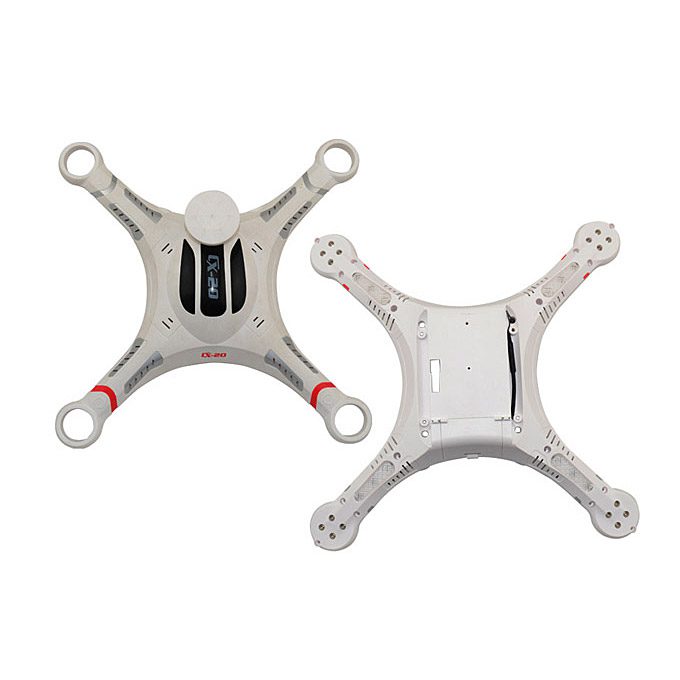 Drone housings
 Drone legs
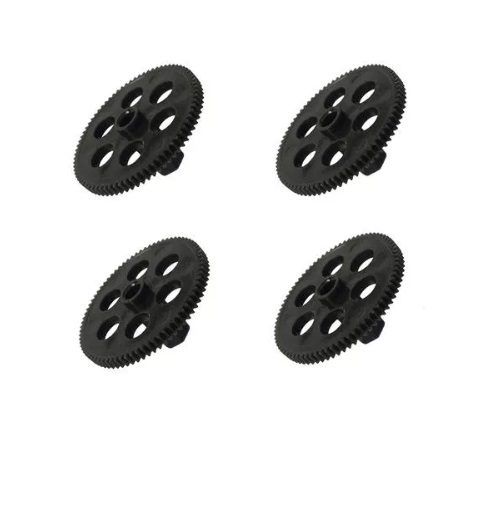 Motors/Gears
 Drone Fins / Propellers
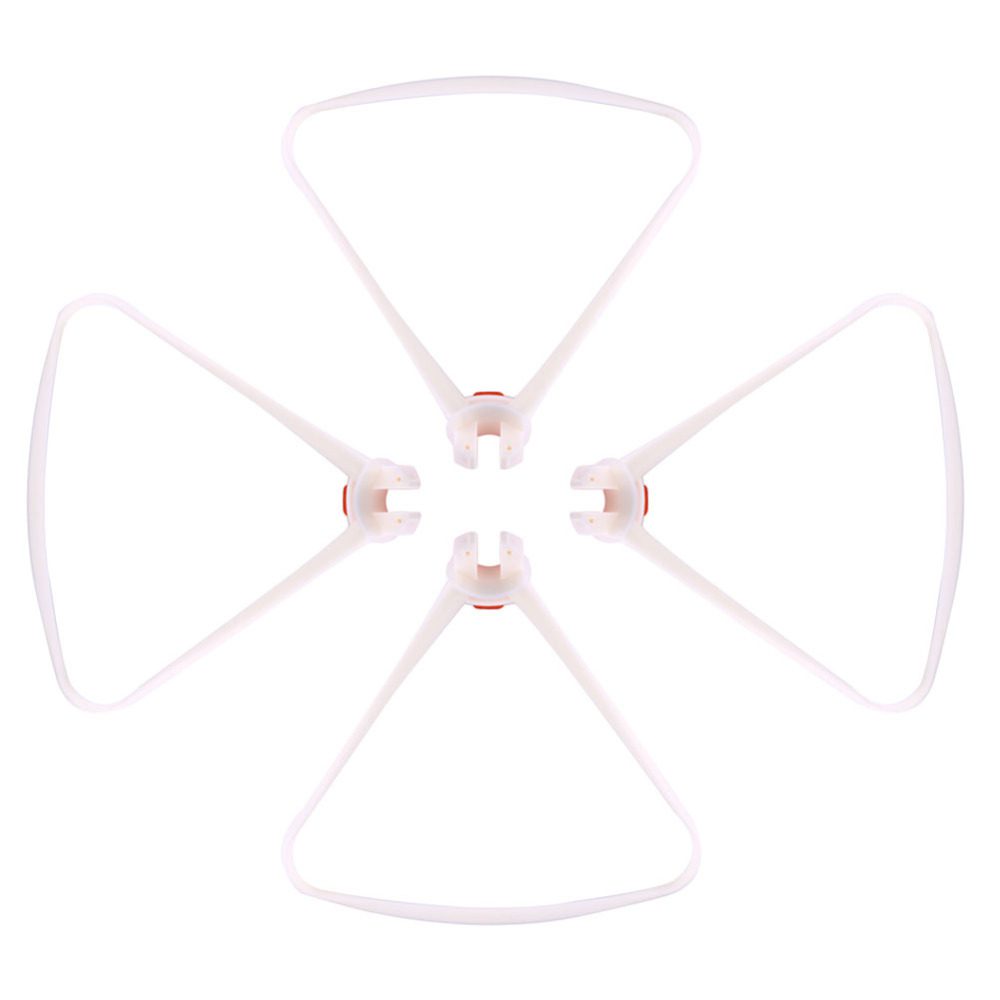 Fin guards
 Chargers
 FPV drones
 FPV drones
 FPV parts
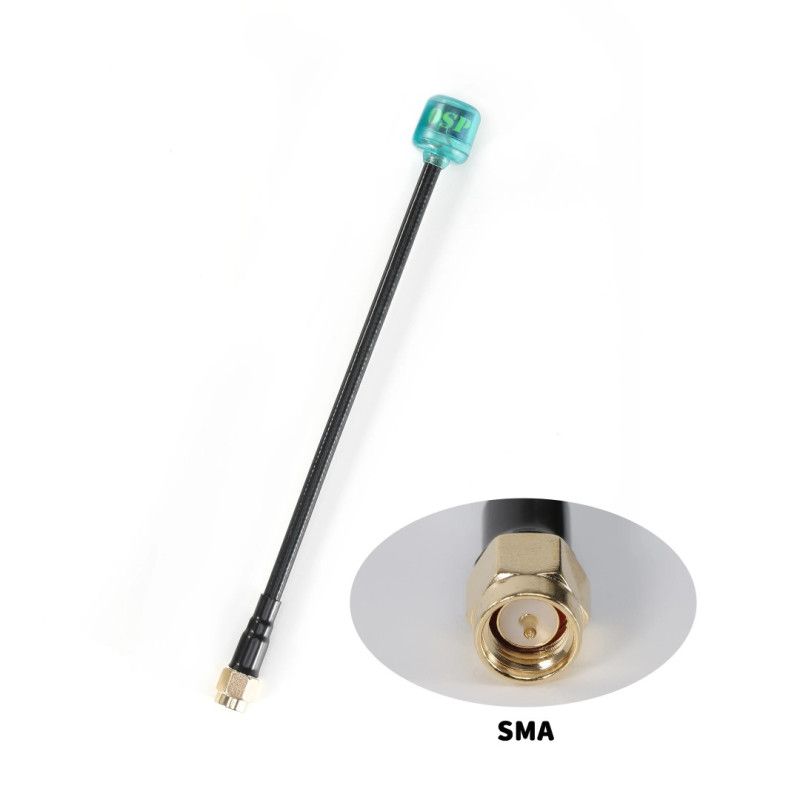 FPV видео антени
 Аналогови FPV камери
 FPV Батерии
 Аналогови VTX
 Digital FPV systems
 Кабели и конектори
 FPV Зарядни
 Tools
Tools Крепежни елементи
 FPV Мотори
 FPV Перки
 Радио Приемници и Антени
 Дистанционни и модули
 FPV Рамки
 FC / ESC / Stacks
 FPV GPS Модули
 FPV Чанти и кейсове
 Airplanes
 Simulators
 DJI Osmo 360
 DJI Osmo Action 6
 DJI Osmo Action 4
 DJI Mic Mini 2S
 DJI Osmo Pocket 4/4Pro
 DJI Osmo Pocket 3
 DJI Osmo Mobile 8/8P
 DJI Osmo Mobile 7
 DJI Ronin RS 4 PRO
 DJI Ronin RS 3 Pro
 DJI RS3 Mini
 DJI Ronin 4D
 Insta360 X6
 Insta360 Luna
 Insta360 X4
 Insta360 Flow 2 Pro
 Insta360 GO 3/3S
 Other insta360 cameras
 Spare parts for DJI Tello
 Spare parts for DJI NEO / NEO 2
 Spare parts for Dji Air 3 / 3S
 Spare parts for DJI Avata / Avata 2
 Spare parts for DJI Spark

 Drone football (DroneBALL)