Liquidation
 0% interest for 6 months
 Профилактика
 DJI Spare Parts
 Extended warranty Drones.bg
 Sell your old drone and get cash now!


About DJI Mavic 3 Classic Capture stunning images with DJI's legendary Hasselblad camera Mavic 3 Classic, built-in professional grade 4/3 CMOS in an incredibly compact space. Hasselblad's rigorous standards apply to both hardware performance and software algorithms, taking image quality to a whole new level. Learn more about DJI Mavic 3 Classic specifications Mavic 3 Classic can provide up to 46 minutes flight time and supports ActiveTrack 5.0, MasterShots, QuickTransfer and Hyperlapse. Every improvement to Mavic 3 Classic sets a higher standard for aerial photography. Fly with Mavic 3 Classic and enjoy images that exceed expectations. User manual For more information about the product, please see the user manual: DJI Mavic 3 Classic User Manual Unpacking and first steps DJI Mavic 3 Classic requires activation before first use. Download DJI Fly and connect the drone to the remote controller and mobile device. You will then need to follow the on-screen instructions to activate the drone. Here are some helpful tips on how to turn on and activate DJI Mavic 3 Classic. Unpacking DJI Mavic 3 Classic (drone only) |
DJI Mavic 3 Classic (DJI RC)
DJI Mavic 3 Classic
For RC-N1 remote control kit and DJI RC kit, only the remote control is different. Let's start by unboxing the DJI Mavic 3 Classic (DJI RC).
In the boxes of the different combinations:
DJI Mavic 3 Classic (drone only)

DJI Mavic 3 Classic (DJI RC)

DJI Mavic 3 Classic

Removing the storage protector
[Important] Remove the protector before turning on the drone.
· When the aircraft is powered on, the gimbal will rotate and perform a self-check*. If the storage protector is not removed, the motor may be damaged or the service life will be affected, or even affect flight safety after takeoff.
· To protect the camera lens and drone arm, it is better to put the protector on your drone when using it. you put it in storage or take it outside.
* If the drone is powered on without activation, the gimbal will not vibrate and start a self-check.
· Removing the storage protector
Hold the drone, pull the clasp at the back of the protector and remove it.

· Attaching the storage protector
1. Turn off the drone and manually adjust the gimbal and camera to face forward.
2. Adjust the nose of the drone to point towards the inside of the protector and then insert it by pulling the strap from the bottom up. Make sure the clasp is properly inserted.

Turn the device on or off
The most important moment when operating a drone is turning it on and off. Like any DJI product, to turn it on/off, you will need to press the power button on the drone/remote controller once and then press and hold the button.
• Drone

• Remote control
1. RC-N1

2. DJI RC

Status indicator descriptions
You can understand the status of your device by the flashing patterns/patterns of the drone status indicator. Different color indicates different drone status, as well as the flashing frequency. See the table below for more information about the drone status indicators.

Installing and removing propellers
As we all know, there are two types of propeller/motor: CW and CCW, and you can easily recognize it by the marking on it. Before installing the propeller, please confirm the marking of each one first.
· Differentiating propellers
If the propeller is installed incorrectly, the drone cannot fly.
A Propellers (CCW)

B Propellers (CW)

Replacing the fins
Step 1: Place the drone horizontally and make sure the drone's camera is facing forward;
Step 2: Attach the propellers with markings to the motors with markings. Tighten the propeller to the motor and turn until it is secured;
Step 3: Attach the unmarked propellers to the unmarked motors. Press the propeller onto the motor and twist until it is securely attached..
To learn more about how to change propellers, watch the video:
Inserting and removing the battery
Please note that the battery can be charged without removing it from the drone. If you want to insert or remove the battery from the drone, please see below:
· Inserting the battery

· Removing the battery

Firmware update
Using DJI Fly or DJI Assistant 2 (Consumer Drones series) to update the firmware of the DJI Mavic 3 Classic.
1. Update the entire firmware package, including the drone and remote controller firmware using DJI Fly (recommended).
2. Update the firmware of the drone and remote controller separately using DJI Assistant 2 (Consumer Drones series).
· Using DJI Fly
Turn on the drone and remote controller and make sure the remote controller is connected to the aircraft. Follow the on-screen instructions to update the firmware and note that internet is required.
· Using DJI Assistant 2 (Consumer Drones series)
Follow the instructions below to update the firmware of the drone and remote controller separately:
1. Turn on the device and connect it to a computer via a USB-C port using a Micro USB cable.
2. Launch DJI Assistant 2 (Consumer Drones Series) and log in with your DJI account.
3. Select the device icon and click "Firmware Updates" in the left panel.
4. Select the firmware version you want to update to.
5. Wait for the firmware to download and the update will start automatically.
6. The device will restart automatically after the firmware update is complete.
Activating your device
The DJI Mavic 3 Classic requires activation before first use. After turning on the drone and remote controller, follow the on-screen instructions to activate the device using DJI Fly.
Step 1: Download the app.
DJI Fly is required to activate and connect the product. Click here, to download and install the app.
Step 2: Connect the drone to other devices.
Before takeoff, connect the drone to the remote controller and mobile device. (For DJI RC, there is no need to connect the mobile device.)
Watch this video to learn more about connecting:
Step 3: First time activation.
Make sure the aircraft, remote controller, and mobile device are connected (for DJI RC, there is no need to connect the mobile device) and that the connection is successful. Launch the DJI Fly app, and then complete the activation according to the on-screen instructions (an internet connection is required for activation).
For an overview of how to activate your device, watch the video below.
Check activation information
Check your device activation details via the page „"Activation information"“ .
* For reference, click here to learn how to check the serial number of your product
* Your device is covered by DJI's warranty from the date of receipt, which will not be affected by the activation status of your device. Go to After-sales service policies, to learn more about the product and component warranty period.
First time use
Follow the steps below to prepare to use the drone and remote control.
Preparing the drone
Step 1: Remove the storage protector.
Step 2: Check the battery level of the flight battery, turn on the drone, and place it on a flat surface. Note that the back of the drone should be facing you.
Preparing the remote control
· DJI RC
Step 1: Remove the control sticks from the remote control storage slots and screw them into place.
Step 2: Check the battery level of the remote control and turn on the remote control.
· DJI RC-N1
Step 1: Remove the control sticks from the remote control storage slots and screw them into place.
Step 2: Remove the mobile device holder and select a suitable remote control cable according to the type of mobile device. Then connect the mobile device.
Step 3: Check the battery level of the remote controller and turn on the remote controller. Then launch DJI Fly.
Preparing for first flight
Watch this video to walk you through your first flight with the DJI Mavic 3 Classic:
Intermediate operations
Night mode
When Night Mode is enabled, high ISO can be used to obtain a properly exposed image. Shots come out with retained detail in bright areas and capture deep blacks with minimal noise when shooting in low light during a night flight.
For a general overview of how to use night mode, watch the video below.
Hyperlapse
Hyperlapse shooting modes include Free, Circle, Course Lock, and Waypoint.
Hyperlapse video is one that speeds up real-time recording so that the viewer can quickly see what happened. The process of slowly changing objects or scenes is compressed, which will present a strange and wonderful sight in a short period of time.
Watch this video to learn more about Hyperlapse:
FocusTrack
FocustTrack includes Spotlight, ActiveTrack, and Point of Interest. This means you can select an object and the drone will automatically keep that object in frame without you having to press the control stick.
For an overview of how to use FocusTrack, watch the video below:
MasterShots
This feature essentially allows anyone to take the best photos of any location in just a few minutes and with just a few clicks. Once the automatically generated photos are recorded, an automatic video is created based on your settings.
Watch this video to learn more about MasterShots:
Zoom in
The DJI Mavic 3 Classic supports up to 3x digital zoom to create the perfect composition.
Live broadcast online
When you use the DJI RC-N1 remote controller with your mobile device, you can live stream with your Mavic 3 Classic via DJI Fly. Live streaming is not available when using DJI RC.
Go to 「“…” > Transmission > Enable Livestreaming」 to broadcast the camera image in real time. Mavic 3 Classic supports live streaming platforms and multiple resolutions for you to choose from and connect with your world face to face at any time.
Please note that you need to enter the RTMP address as follows: RTMP address/stream key. Please add a “/” (slash) between the RTMP address and the stream key. Only in this way can the live streaming screen be displayed.
Smart RTH
Smart RTH is initiated either by tapping the RTH icon on the left side of the app screen or by pressing and holding the RTH button on the remote control.
Watch the tutorial below to learn how to use Smart RTH:
Charging instructions
Method of charging
The DJI Mavic 3 Classic combo comes with a 65W portable charger (for the DJI Mavic 3 Classic (drone only) variant, the portable charger must be purchased separately). Prepare your drone, remote controller, and charger, then follow the instructions below to charge.
· Connecting the drone to the installed battery for charging

· Using a battery charging hub

· Charging the DJI RC remote controller

· Charging the DJI RC-N1 remote controller

Battery maintenance
1. Discharge the battery to 40%-65% (third battery level LED is on or flashing) if it will not be used for 10 days or more.
2. Charge and discharge the battery approximately every three months to maintain the battery's good condition. If the battery is stored after it is completely discharged, it may over-discharge and become damaged.
3. Always store Intelligent Flight batteries in a well-ventilated area.
4. The battery will enter hibernation mode if it is discharged and stored for an extended period of time. Recharge the battery to bring it out of hibernation.
Export footage
Storage
· The DJI Mavic 3 Classic includes 8GB of internal storage, so you can take photos and record videos if you forget to bring a memory card. Photos and videos are stored on the internal memory by default if a microSD card is not inserted, and it can record 4K 60fps videos for about 18 minutes.
· The combo option does not include a microSD card. The DJI Mavic 3 Classic supports micro SD cards with capacities up to 256GB and we recommend that you choose a microSD card that has been rigorously tested:
Sandisk Extreme U3 V30 A1 32GB microSDXC
Sandisk Extreme Pro U3 V30 A1 32GB microSDXC
Kingston CANVAS GO Plus U3 V30 A2 64GB microSDXC
Kingston CANVAS React Plus U3 V90 A1 64GB microSDXC
Kingston CANVAS React Plus U3 V90 A1 128GB microSDXC
Kingston CANVAS React Plus U3 V90 A1 256GB microSDXC
Samsung Pro plus V30 U3 V30 A2 256GB microSDXC
· DJI RC does not come with internal memory, but can be equipped with a microSD card. After inserting a memory card, you can use the product to take photos/videos, store cache files, and download footage from the drone to the remote controller.
* DJI Mavic 3 Classic supports the QuickTransfer feature. With QuickTransfer, DJI allows direct connection of the drone to the smartphone to upload photos and videos from the drone to the smartphone. If you are not going to cache files, a memory card is not required.
Inserting and removing a memory card
If you have purchased a memory card, you can insert it into the black memory card adapter, which can be attached to the computer's TF slot for further file transfer. Please note that the memory card is inserted into the drone without the card adapter.
Please see below how to install and remove a memory card from your drone or DJI RC:
· Inserting a memory card
· Removing a memory card

Export photos/videos
Photos and videos captured by the DJI Mavic 3 Classic are stored in the internal memory or on a microSD card.
Safe flight
Flight policy
GEO zone
To determine if you will need to unlock an area before flying to your desired location, start by checking: GEO Zone
Flight environment requirements
1. Always fly in open areas and keep your drone in direct line of sight. For safety reasons, you should never fly over people, animals, or moving vehicles.
2. Always fly at a safe altitude and in places where there are no buildings or other obstacles. The maximum flight altitude can be set to 500 m above ground level. For details on the maximum flight distance, see the official specifications. Beginner pilots should not fly too far.
Safety tips
Pre-flight checklist
1. Propellers: Make sure the propellers are securely attached and not damaged.
2. Fuse and battery: Remove the fuse before turning on the drone and make sure the battery is properly inserted (a click may be heard).
3. Power on and self-test: After the device is powered on and connected, check if there are any warnings displayed in the app. If so, follow the on-screen instructions and fly the drone after there are no more warnings.
Visualization systems may not work properly in any of the following situations:
Flying over extremely dark surfaces, water or transparent surfaces, monochrome surfaces, or surfaces without clear patterns or texture;
Flying over small-area obstacles (e.g. tree branches);
Available accessories
3 must-have accessories for your Mavic 3 Classic to fly longer and safer and take great videos.
Popular accessories
DJI Mavic 3 Fly More Kit: Includes two Intelligent Flight batteries, a battery charging hub, a 65W car charger, and spare propellers, providing complete support for your aerial photography experience at a better price than purchasing them separately.
DJI Mavic 3 Classic ND Filter Set (ND8/16/32/64): Made from high-quality light-reducing materials, this filter set helps you capture true colors and stunning details in both bright and dark areas. By choosing the right filter, you have more freedom to control the aperture or shutter, which provides more exposure options and room for your creativity.
DJI 65W Portable Charger: Thanks to GaN technology, the DJI 65W Portable Charger is smaller but offers faster charging speeds. With two USB-C and USB-A output ports, it can charge the Intelligent Flight Battery and RC at the same time. It supports PPS and PD protocols and can charge your smartphone, laptop, and other devices.
DJI Care Plans
DJI Care Refresh is a comprehensive and reliable protection plan that provides DJI products with coverage for a range of accidental damage such as collision, water damage, flying, and natural wear and tear.
There are two DJI Care Refresh options available to you, a 1-year plan and a 2-year plan. By choosing the 2-year plan, the official warranty can be extended to two years, providing you with effective, flexible and optional protection solutions and allowing you to enjoy your DJI product with greater peace of mind wherever you go.
Add 1-year DJI Care Refresh plan (DJI Mavic 3 Classic)
Add 2-year DJI Care Refresh plan (DJI Mavic 3 Classic)
· [DJI Care Express] The DJI Service Center will send you a replacement as soon as it receives your product. DJI will cover the return shipping costs whenever a product is sent back for a replacement.
· [Full coverage] DJI Care Refresh covers collisions, flight, water damage, natural wear and tear, and other accidental damage.
· [Replacement at additional low price] The 1-year plan provides up to two backup units at an additional low price (XX), while the 2-year plan offers up to three backup units.
· [Flyaway Cover] If a Flyaway incident occurs, sync flight records and complete the DJI Care Flyaway Aircraft Report on the remote controller, and simply pay the applicable service fee to receive a replacement product.
· [Safe Flight Rewards] During the service period, if you have not used any replacement or repair services, DJI will provide you with a 1-year warranty extension as a reward.








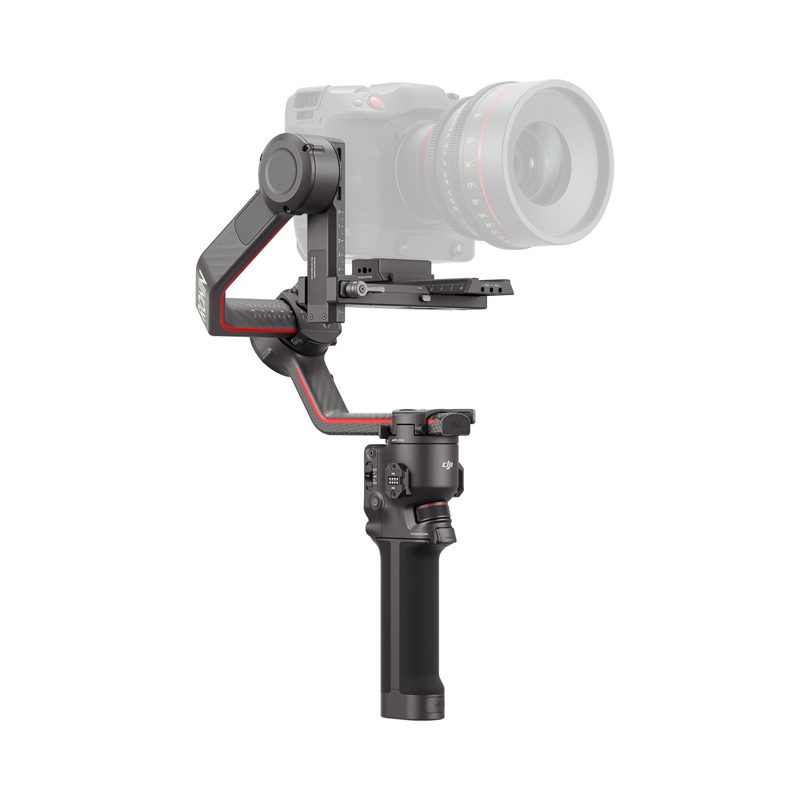


 Discounts
 0% interest for 6 months
 Vouchers

 All DJI Drones
 DJI Lito
 DJI Mini 5 Pro
 DJI Neo 2
 DJI Neo
 DJI Avatar 360
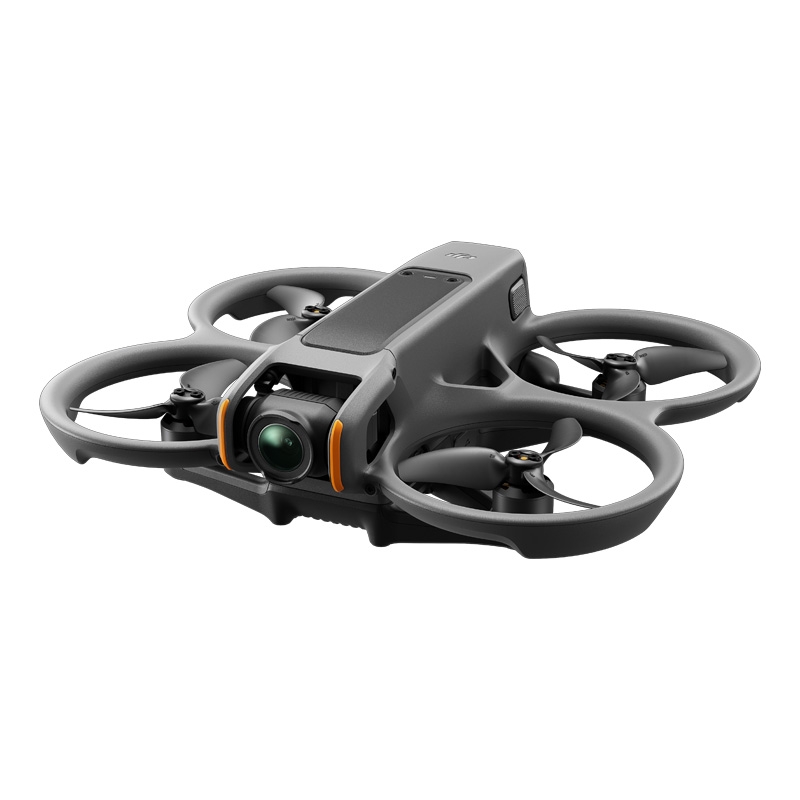 DJI Avatar 2
 DJI Mavic 3 Pro
 DJI Air 2S
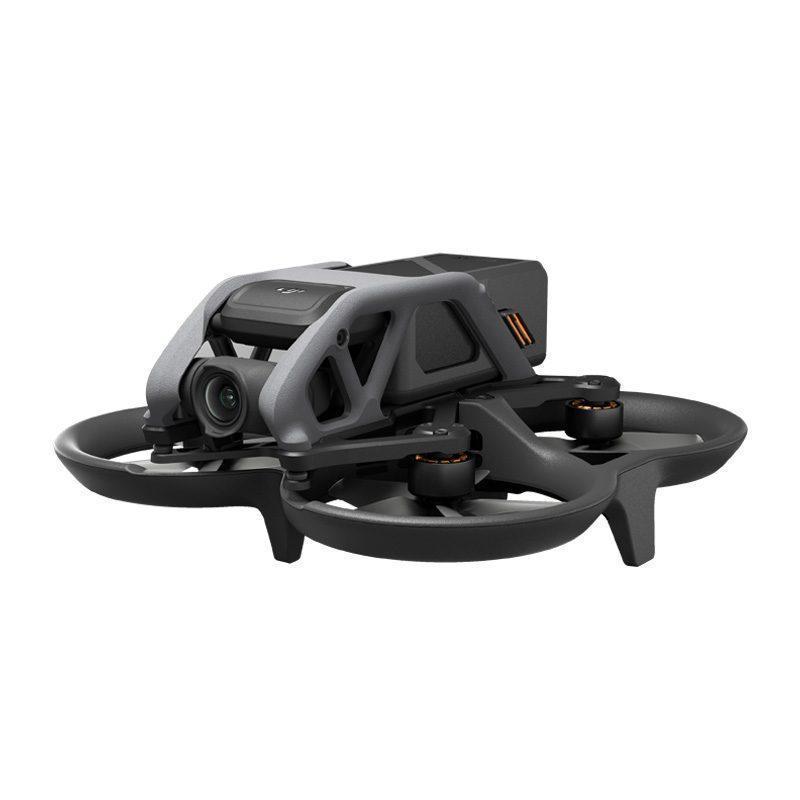 DJI Avatar
 DJI FPV
 DJI Mini 3 Pro
 DJI Care Refresh Plans
 DJI Matrix 4
 DJI Matrice 400
 DJI Dock
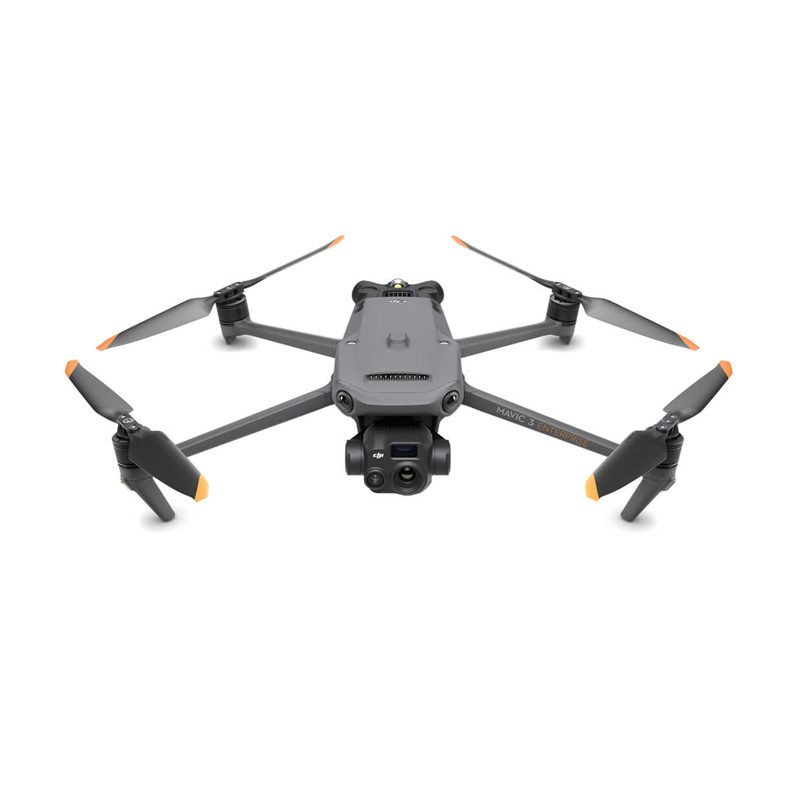 DJI Mavic 3 Enterprise
 DJI FLYCART 30
 DJI FlyCart 100 CARGO TRANSPORT DRONE
 Software for industrial drones
 Professional cameras
 Antigravity A1
 Kids drones
 Kids drones
 Drone batteries
 Drone housings
 Drone legs
 Motors/Gears
 Drone Fins / Propellers
 Fin guards
 Chargers
 FPV drones
 FPV drones
 FPV parts
 FPV видео антени
 Аналогови FPV камери
 FPV Батерии
 Аналогови VTX
 Digital FPV systems
 Кабели и конектори
 FPV Зарядни
 Tools
Tools Крепежни елементи
 FPV Мотори
 FPV Перки
 Радио Приемници и Антени
 Дистанционни и модули
 FPV Рамки
 FC / ESC / Stacks
 FPV GPS Модули
 FPV Чанти и кейсове
 Airplanes
 Simulators
 DJI Osmo 360
 DJI Osmo Action 6
 DJI Osmo Action 4
 DJI Mic Mini 2S
 DJI Osmo Pocket 4/4Pro
 DJI Osmo Pocket 3
 DJI Osmo Mobile 8/8P
 DJI Osmo Mobile 7
 DJI Ronin RS 4 PRO
 DJI Ronin RS 3 Pro
 DJI RS3 Mini
 DJI Ronin 4D
 Insta360 X6
 Insta360 Luna
 Insta360 X4
 Insta360 Flow 2 Pro
 Insta360 GO 3/3S
 Other insta360 cameras
 Spare parts for DJI Tello
 Spare parts for DJI NEO / NEO 2
 Spare parts for Dji Air 3 / 3S
 Spare parts for DJI Avata / Avata 2
 Spare parts for DJI Spark

 Drone football (DroneBALL)